WHY THIS RESOURCE MATTERS
Protect the finish quality room by room
Snagging focuses on the details a client or occupant experiences at handover: alignment, finish, operation, cleanliness, and damage. A room-based sequence reduces missed corners and helps a team finish one space completely instead of revisiting scattered defects across the property.
Describe the expected result in plain language and avoid relying on a photo alone. A useful snag states where the defect is, what is visibly wrong, which surface or fitting is affected, and how completion will be checked without prescribing a repair method that has not been agreed with the responsible trade.
CHECKLIST
What to include
- 01Property and unit
- 02Room or area
- 03Snag category
- 04Clear defect description
- 05Severity
- 06Responsible trade
- 07Due date
- 08Annotated photo
- 09Rectification status
- 10Verification and sign-off
WHAT TO LOOK FOR
Typical finish defects to record precisely
Paint and plaster
Runs, flashing, poor cut lines, visible repairs, cracking, and surface contamination need location and lighting context.
Joinery alignment
Uneven margins, loose hardware, binding drawers, damaged edges, and inconsistent joints should identify the exact unit.
Tile and sealant
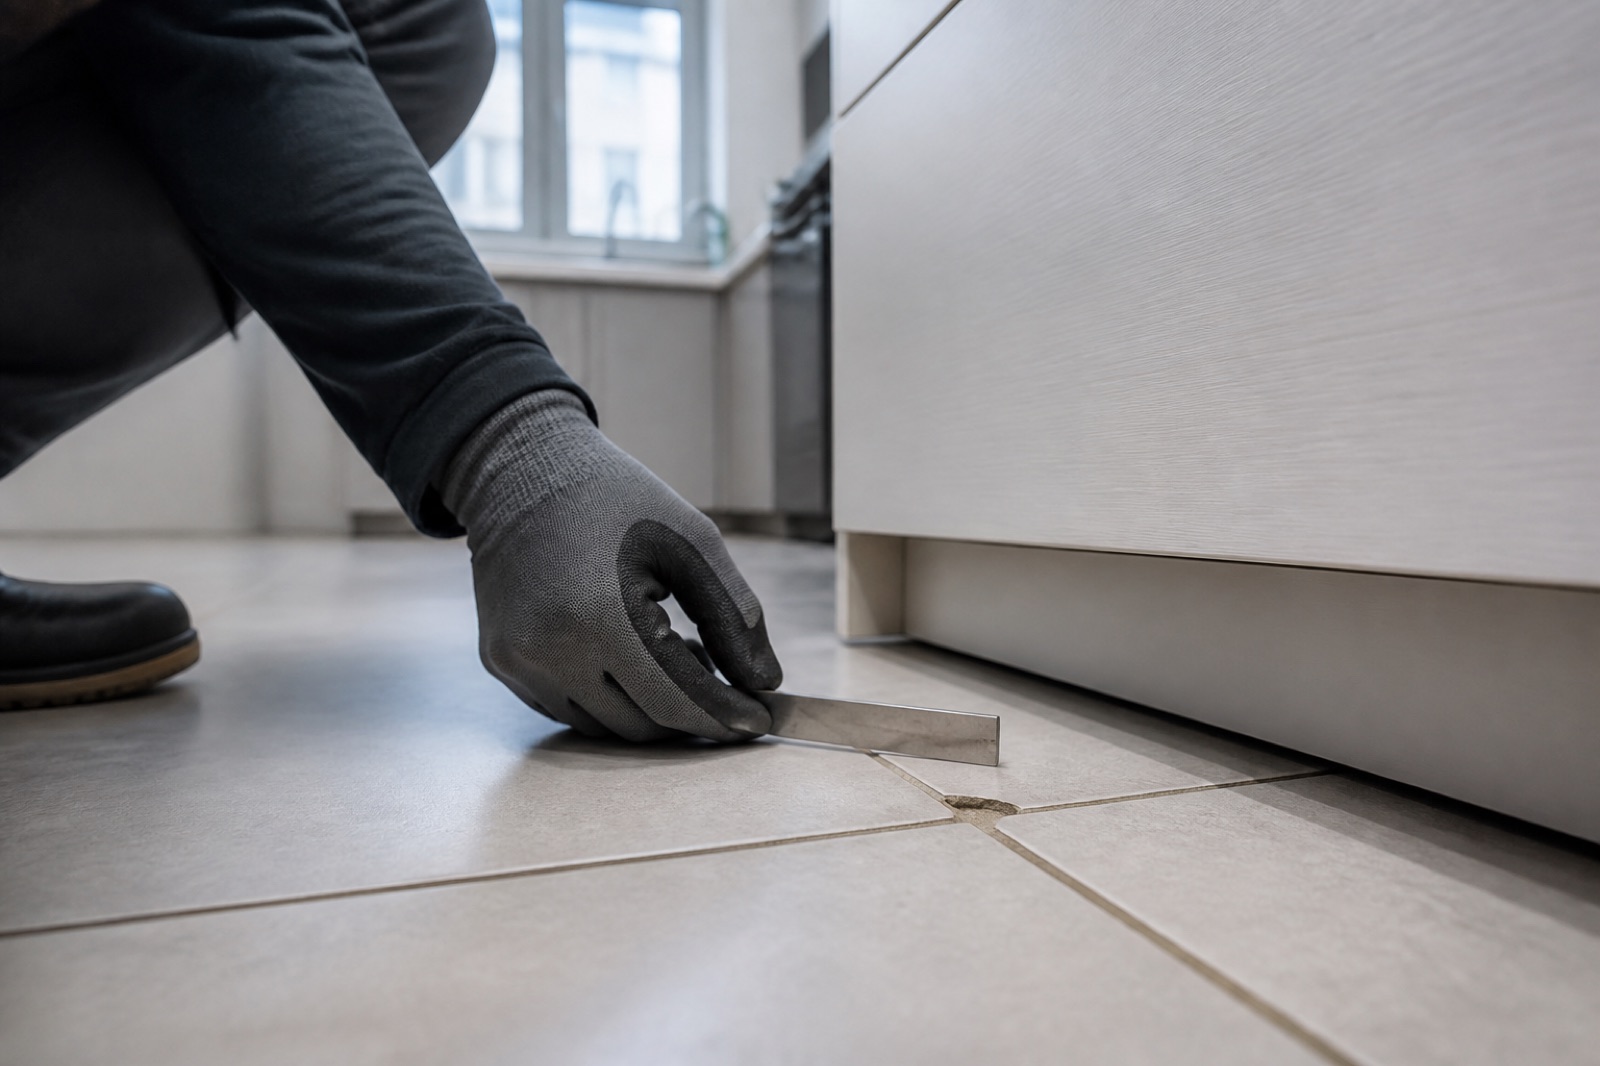
Chips, lippage, missing grout, irregular joints, and incomplete seals require a close image plus the room surface.
Fixtures and fittings
Loose, missing, incorrectly positioned, or non-operational fittings should be linked to their room and fixture reference.
Protection and damage
Scratches, dents, stains, adhesive residue, and debris should distinguish construction damage from final cleaning work.
FIELD WORKFLOW
How to use this template
- 1
Start at the entrance of each room and follow the same clockwise sequence across ceiling, walls, openings, fixtures, joinery, and floor.
- 2
Place a removable marker near small defects when appropriate, then take a room-context photograph before the close detail photograph.
- 3
Group the resulting actions by responsible trade without losing the room reference, and agree which items must be finished before cleaning begins.
- 4
Return with the original images available, remove markers only after verification, and check that repairs have not damaged adjacent completed finishes.
PRIORITY GUIDE
Separate function from presentation
Safe and usable
Escalate sharp edges, unstable fittings, blocked access, water escape, or anything preventing normal use of the room.
Finish correction
Assign visible workmanship that falls short of the approved sample or agreed quality before the final client inspection.
Clean and present
Track residue, dust, labels, minor touch-ups, and protective material as the final layer after trade work is complete.
FIELD EXAMPLE
Example: recording an uneven tile finish
In Apartment 3B, ensuite west wall, identify the tile row and its position relative to the shower control. Photograph the full wall, then a low-angle detail showing the uneven edge under normal light. Record the visible issue rather than an assumed cause, reference the approved finish if available, assign the tiling trade, and verify both alignment and surrounding grout after the correction is complete.
BEFORE YOU START
Adapt it to the job
Names, inspection frequency, acceptance criteria, retention rules, and sign-off responsibilities vary by project and jurisdiction. Remove irrelevant items and add the exact standards, drawings, specifications, and responsible people that apply to your work.